ちょっと試してみたくなった。
ユーザー登録
ユーザー登録だけで、今は無料で使用できる。最初に以下のページにアクセスし、「TRY CHATGPT」をクリックしてユーザー登録を行う。
https://openai.com/blog/chatgpt/
使ってみる
試しに「ChatGPTを上手に使うには?」と質問してみた。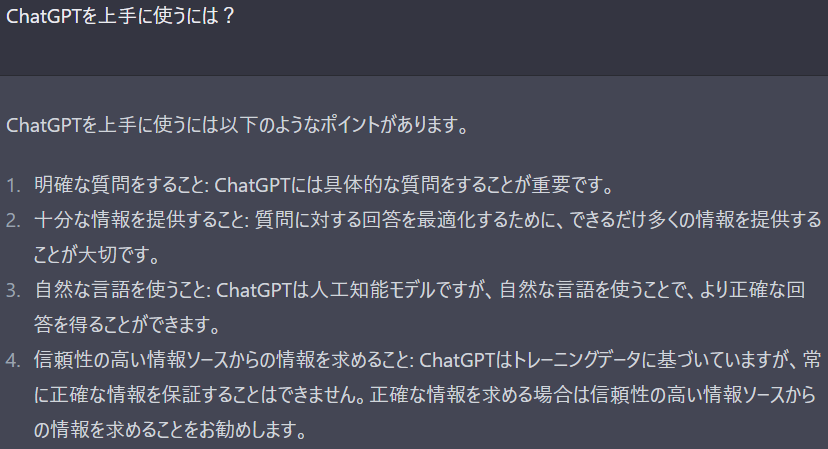
ChatGPT:ChatGPTを上手に使うには以下のようなポイントがあります。
- 明確な質問をすること: ChatGPTには具体的な質問をすることが重要です。
- 十分な情報を提供すること: 質問に対する回答を最適化するために、できるだけ多くの情報を提供することが大切です。
- 自然な言語を使うこと: ChatGPTは人工知能モデルですが、自然な言語を使うことで、より正確な回答を得ることができます。
- 信頼性の高い情報ソースからの情報を求めること: ChatGPTはトレーニングデータに基づいていますが、常に正確な情報を保証することはできません。正確な情報を求める場合は信頼性の高い情報ソースからの情報を求めることをお勧めします。
対話式に質問を続けられるはすなので、さらに意地悪に質問を掘り下げてみた。
「ChatGPTからの回答が間違えている可能性はどのくらいあるのか?」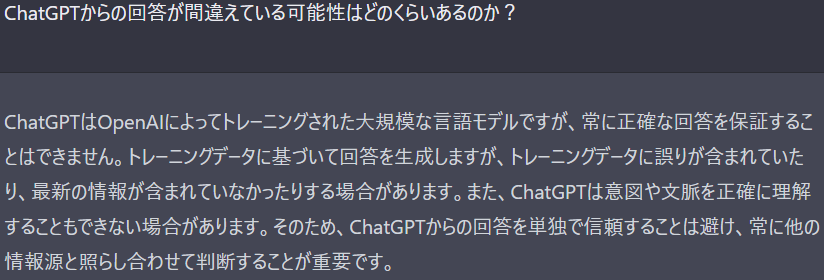
ChatGPT:ChatGPTはOpenAIによってトレーニングされた大規模な言語モデルですが、常に正確な回答を保証することはできません。トレーニングデータに基づいて回答を生成しますが、トレーニングデータに誤りが含まれていたり、最新の情報が含まれていなかったりする場合があります。また、ChatGPTは意図や文脈を正確に理解することもできない場合があります。そのため、ChatGPTからの回答を単独で信頼することは避け、常に他の情報源と照らし合わせて判断することが重要です。
「そうではなくて、間違いが含まれている可能性の具体的な数値を知りたい。」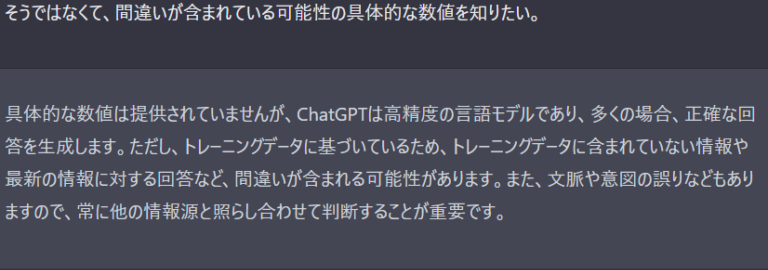
ChatGPT:具体的な数値は提供されていませんが、ChatGPTは高精度の言語モデルであり、多くの場合、正確な回答を生成します。ただし、トレーニングデータに基づいているため、トレーニングデータに含まれていない情報や最新の情報に対する回答など、間違いが含まれる可能性があります。また、文脈や意図の誤りなどもありますので、常に他の情報源と照らし合わせて判断することが重要です。
「最新の情報ほど間違いが含まれている可能性が高いということか?」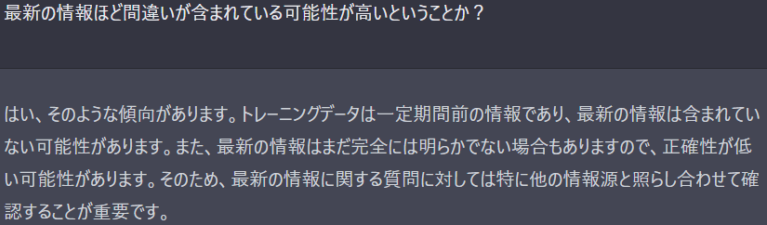
ChatGPT:はい、そのような傾向があります。トレーニングデータは一定期間前の情報であり、最新の情報は含まれていない可能性があります。また、最新の情報はまだ完全には明らかでない場合もありますので、正確性が低い可能性があります。そのため、最新の情報に関する質問に対しては特に他の情報源と照らし合わせて確認することが重要です。
まとめ
同じような回答になってしまっているところもあるが、自然に会話しているように文章が繋がっている。本当にすごいツールが出てきたと思う。