JunitでMock使用時、エラーになる場合がある

mockito-core-5.2.0.jar

JunitでMockを使用しているとき、下記のエラーが出る。何度も実行していると、たまに正常に終了するときもある。

Error creating bean with name 'userDao' defined in class path resource [common/service/applicationContext-test.xml]: Failed to instantiate [java.lang.Object]: Factory method 'mock' threw exception with message: Please don't pass any values here. Java will detect class automagically.

調べてみたら下記に理由が書いてあった。
automatically detect class to mock #2779

修正内容は以下の通り。

    <bean id="userDao" class="org.mockito.Mockito" factory-method="mock">
-        <constructor-arg value="common.dao.jpa.UserDao" />
+        <constructor-arg>
+            <value type="java.lang.Class">common.dao.jpa.UserDao</value>
+       </constructor-arg>
    </bean>

CircleCIとCOVERALLSを連携する

やりたいこと

CircleCIでテスト実行後、code coverageをCOVERALLSに表示したい。

COVERALLSの設定

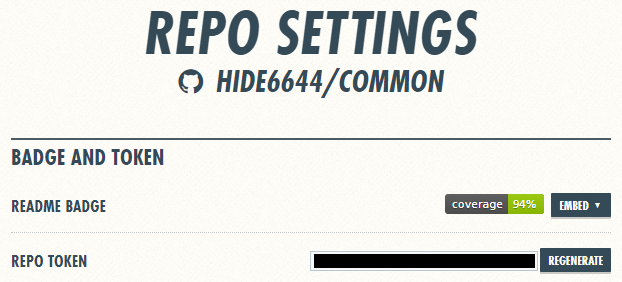
レポジトリを登録して、SettingsのREPO TOKENをコピーする。

CircleCIの設定

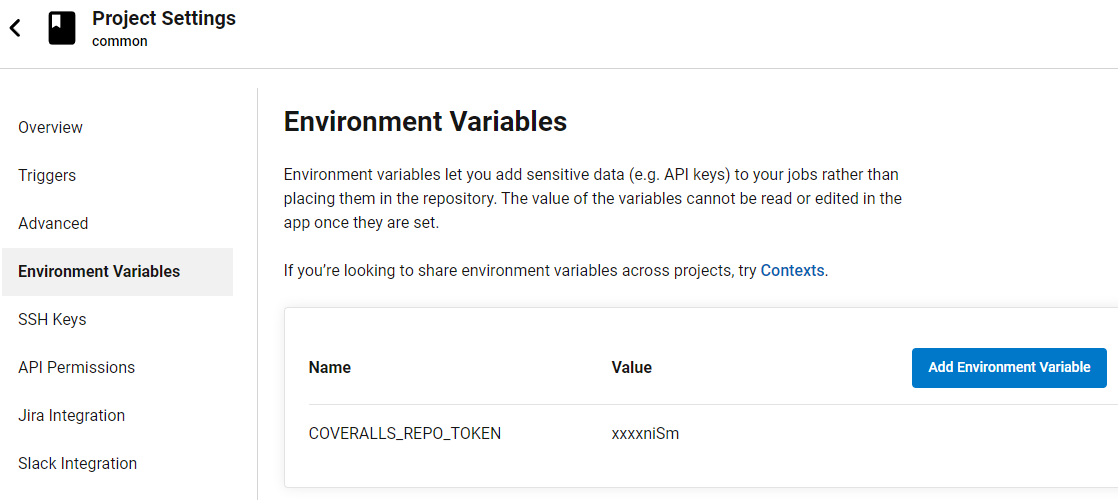
先ほど確認したREPO TOKENをProject SettingのEnvironment VariablesにCOVERALLS_REPO_TOKENとして登録する。

config.ymlの設定

MavenのGoalにjacoco:report coveralls:reportを指定する。

      # Generate a site.
      - run:
          name: Site
          command: mvn jacoco:report coveralls:report
      - store_artifacts:
          path: target/site
          destination: reports

pom.xmlの設定

repoTokenにCOVERALLS_REPO_TOKENを設定する。

            <plugin>
                <groupId>org.eluder.coveralls</groupId>
                <artifactId>coveralls-maven-plugin</artifactId>
                <version>4.3.0</version>
                <configuration>
                    <repoToken>${COVERALLS_REPO_TOKEN}</repoToken>
                </configuration>
            </plugin>

動作確認

対象のGitHubレポジトリにpushすると、ビルドが動いた後、下記の通りcode coverageが表示されることが確認できた。

CircleCIのビルド後テスト結果が表示されるようにしたい

Junitのテスト結果を表示

Maven Testの後にJunitのテスト結果ファイルを収集する設定を追加する。

      # Publish test results.
      - run:
          name: Collect test results
          command: |
            mkdir -p ~/junit/
            find . -type f -regex ".*/target/surefire-reports/.*xml" -exec cp {} ~/junit/ \;
          when: always
      - store_test_results:
          path: ~/junit

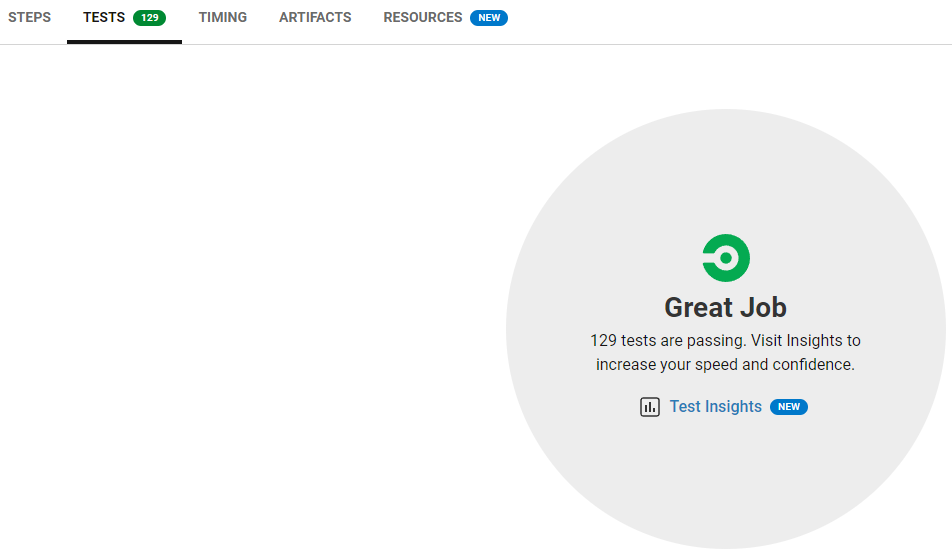
下記の通りテスト結果が表示されるようになる。

Siteを表示

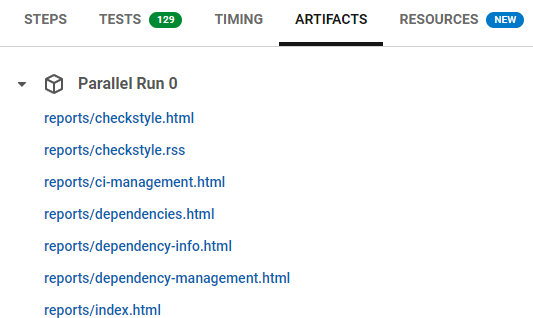
Mavenで実行したCheckStyle、SpotBugsやJavaDoc結果を表示するようにしたい。下記の通り設定ファイルに追記した。

      # Generate a site.
      - run:
          name: Site
          command: mvn site
      - store_artifacts:
          path: target/site
          destination: reports

ARTIFACTSタブからファイルが参照できるようになる。

完成した設定ファイルはGitHub参照のこと。
https://github.com/hide6644/common/blob/circleci-project-setup/.circleci/config.yml

GitHubにpushしたらCircleCIでビルドが実行されるようにしたい

やりたいこと

  • ビルドの実行
  • テストの実行
  • レポートの作成
  • バッジの表示

CircleCIの設定

CircleCIのプロジェクトをセットアップする

https://circleci.com/にアクセスし、GitHubアカウントでサインアップする。

自分の所有しているレポジトリが表示されるので、CircleCIと連携したいレポジトリのSet Up Projectをクリックする。

今回はconfigファイルの作成から行うのでFastを選択する。
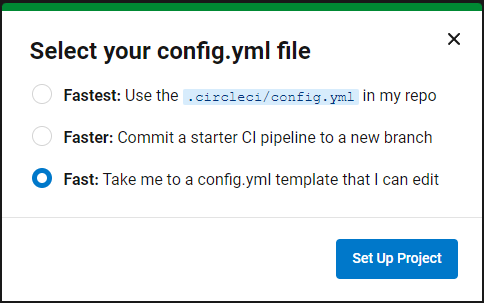
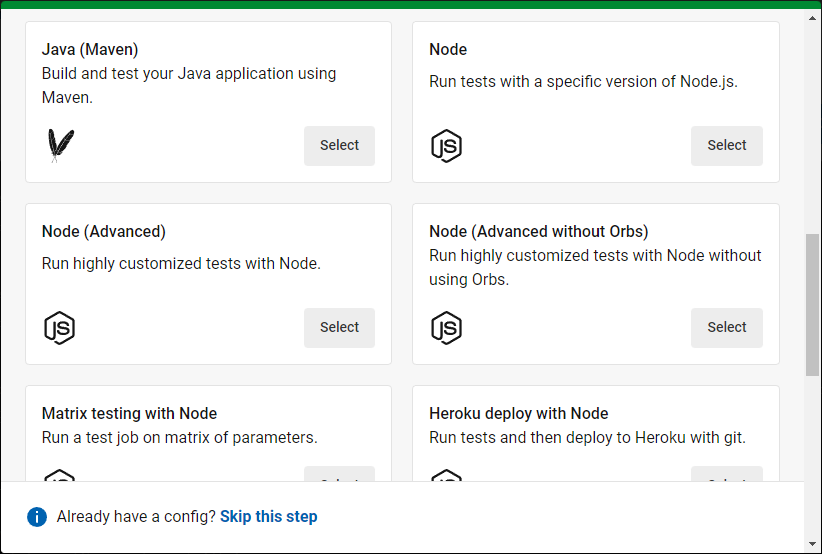
ここは自身のプロジェクトで使用しているビルドツールを選択する。Java(Maven)を選択した。
Sampleのconfigファイルが作成される。とりあえず試したかったので、何も変更せずCommit and Runをクリックした。
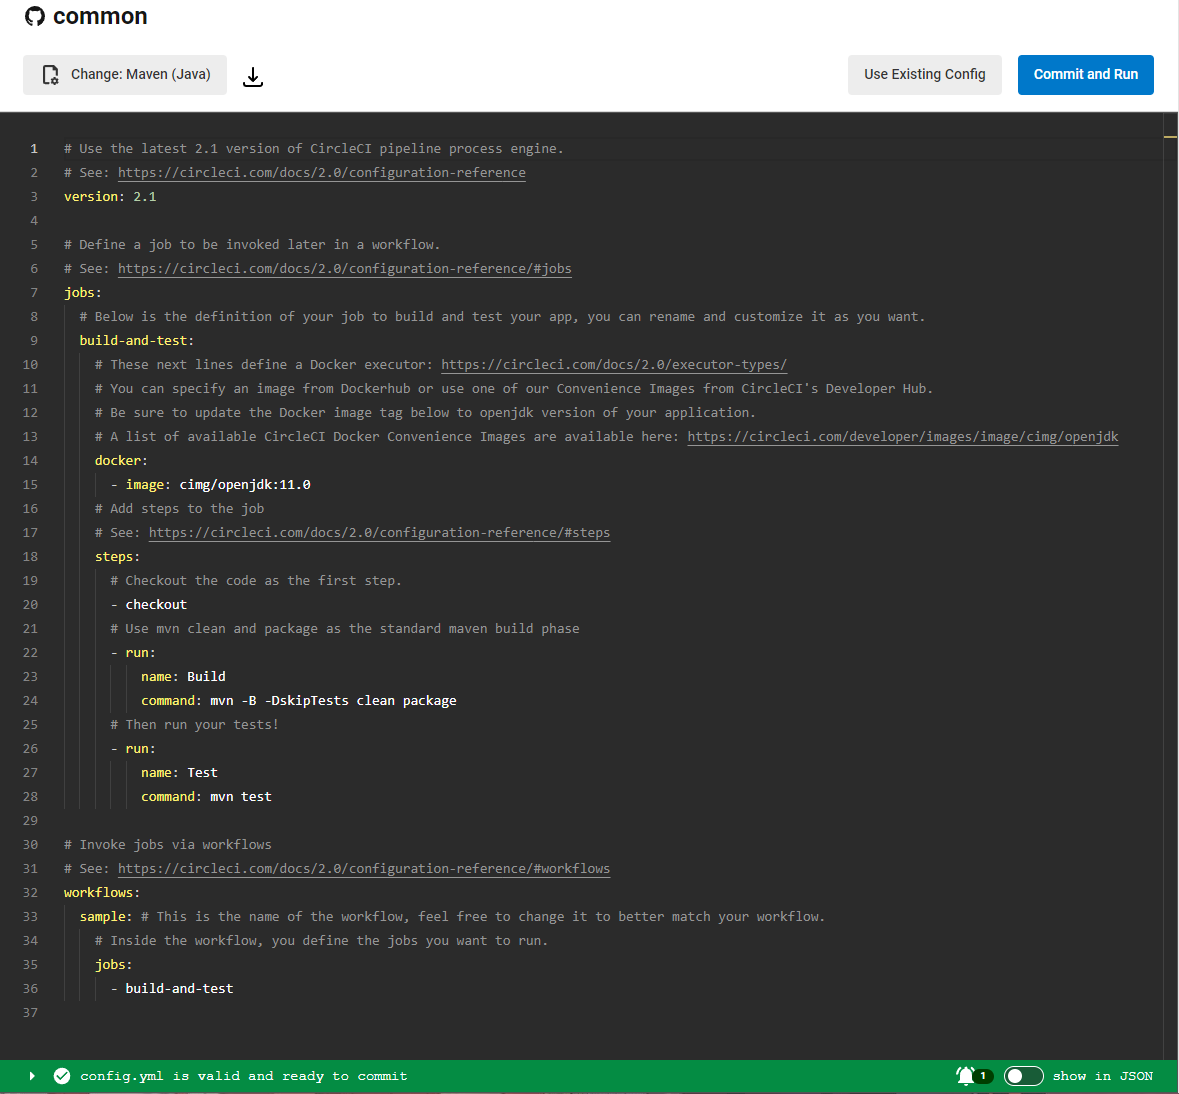
該当のプロジェクトにcircleci-project-setupブランチが作成された後、ビルドが実行される。このsampleではビルドからテストまで実行される。

プログラムが使用しているデータベースの設定を行っていないため、当然テストは失敗となった。

プロジェクトに合わせてconfigファイルを変更する

自分の実行環境に合わせて以下の通りconfigファイルを変更した。

  • MariaDBをインストール
  • テスト用のスキーマ、データをインポート
# Use the latest 2.1 version of CircleCI pipeline process engine.
# See: https://circleci.com/docs/2.0/configuration-reference
version: 2.1

# Define a job to be invoked later in a workflow.
# See: https://circleci.com/docs/2.0/configuration-reference/#jobs
jobs:
  build-and-test:
    docker:
      - image: cimg/openjdk:11.0
      - image: cimg/mariadb:10.8
        environment:
          MARIADB_DATABASE: common
          MARIADB_USER: common
          MARIADB_PASSWORD: common_pw
    # Add steps to the job
    # See: https://circleci.com/docs/2.0/configuration-reference/#steps
    steps:
      # Checkout the code as the first step.
      - checkout
      # Use mvn clean and package as the standard maven build phase
      - run:
          name: Build
          command: mvn -B -DskipTests clean package
      # Wait for MariaDB to be ready.
      - run:
          name: Waiting DB setup
          command: |
            for i in `seq 1 10`;
            do
              nc -z 127.0.0.1 3306 && echo Success && exit 0
              echo -n .
              sleep 1
            done
            echo Failed waiting for MySQL && exit 1
      # Installation of MySQL CLI. And import test data.
      - run:
          name: Import tast data
          command: |
            sudo apt update
            sudo apt install mysql-client
            mysql -h 127.0.0.1 -u common -pcommon_pw common < src/config/schema.sql
            mysql -h 127.0.0.1 -u common -pcommon_pw common < src/config/data.sql
      # Then run tests!
      - run:
          name: Test
          command: mvn test

# Invoke jobs via workflows
# See: https://circleci.com/docs/2.0/configuration-reference/#workflows
workflows:
  build-deploy:
    jobs:
      - build-and-test

これでビルドとテストは成功となった。
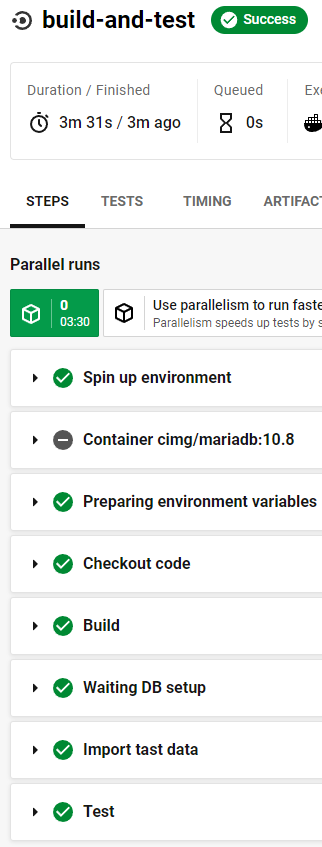
Junitのテスト結果、レポートの表示

こちら(CircleCIのビルド後テスト結果が表示されるようにしたい)の記事を参照のこと。

バッジの表示

Project SettingのStatus Badgesを参照する。埋め込み用コードが表示されるので、それをコピーして貼り付ける。
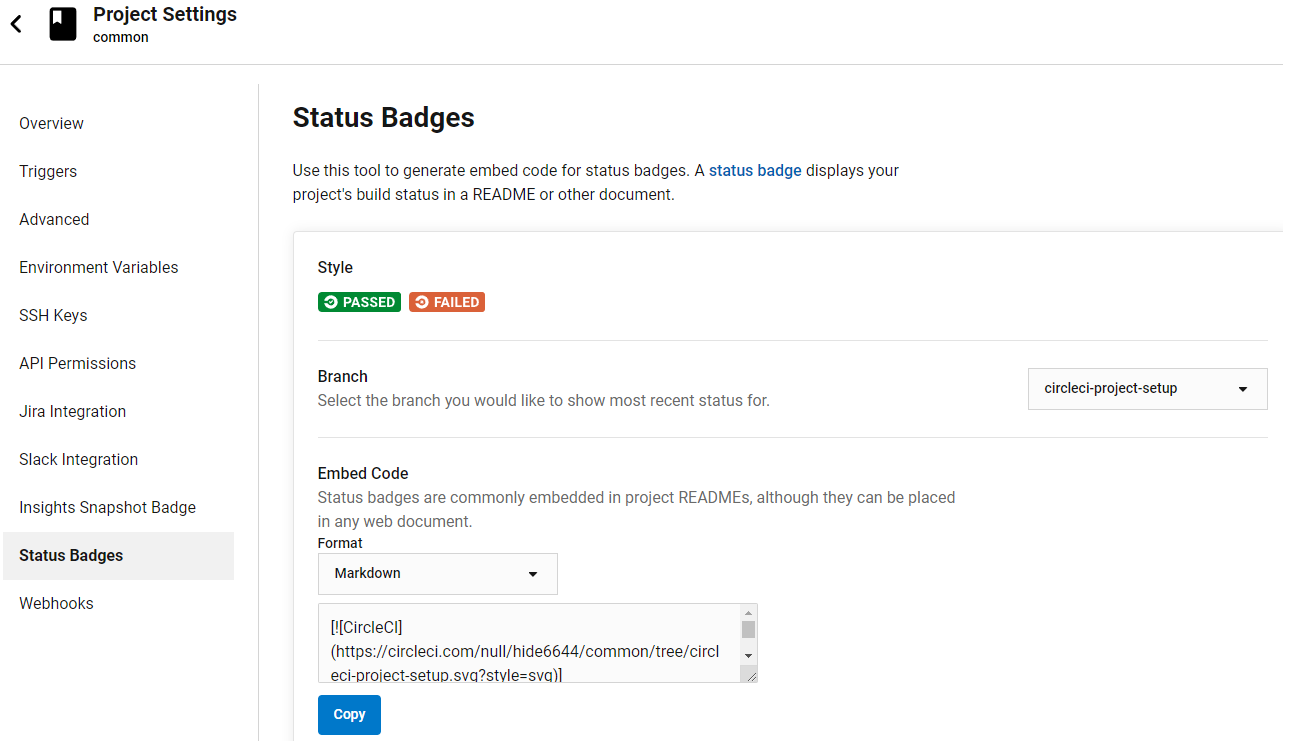
なぜか、URLの一部がnullになっていて、正常に画像が表示されなかったので、以下の通り修正した。

[![CircleCI](https://circleci.com/gh/hide6644/common/tree/circleci-project-setup.svg?style=svg)](https://circleci.com/gh/hide6644/common/tree/circleci-project-setup)
Spring Boot 2.1でJUnit 5.5を使用する

testCompile 'org.springframework.boot:spring-boot-starter-test'

を以下の通り変更する。

testCompile('org.springframework.boot:spring-boot-starter-test') {
   exclude module: 'junit'
}

さらに、以下の行を追加する。

testImplementation 'org.junit.jupiter:junit-jupiter-api'
testRuntimeOnly 'org.junit.jupiter:junit-jupiter-engine'

なお、Spring Boot 2.2からはJUnit 5.5が標準になったので、上記の対応は不要となる。